The following images explain the normal process for a loft conversion.
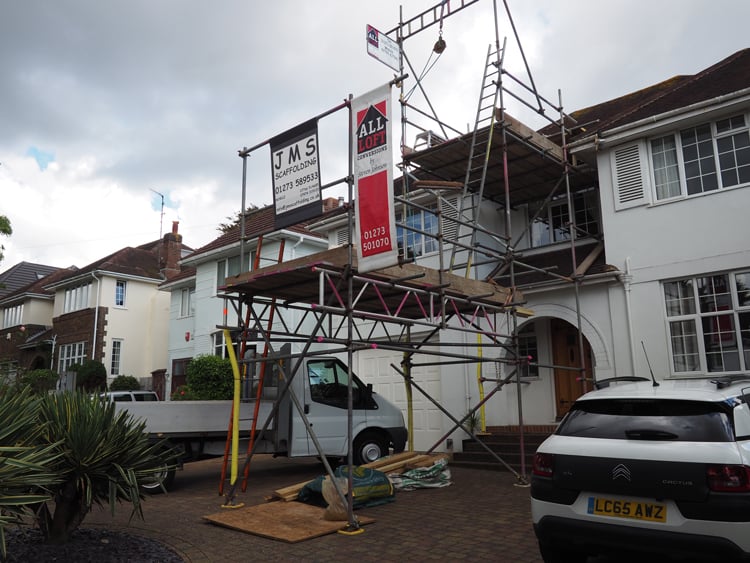
Erecting the access scaffolding.
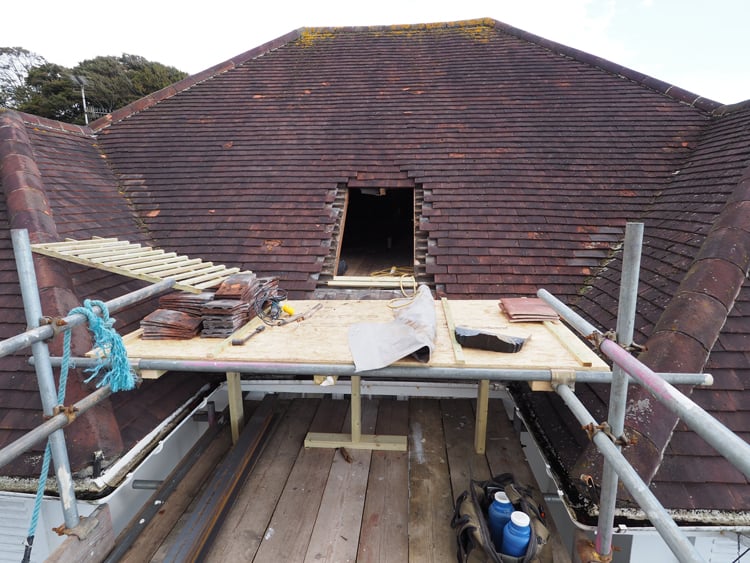
Access hole cut in roof (and protected from British weather!)
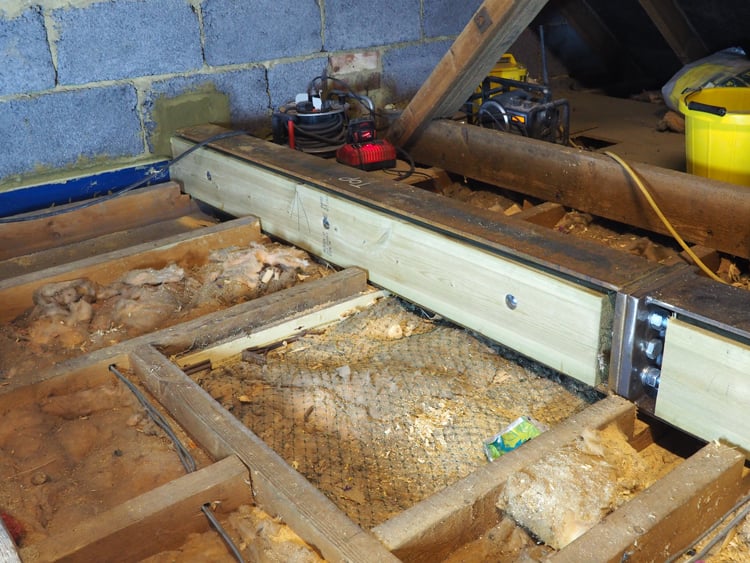
New under floor steels laid
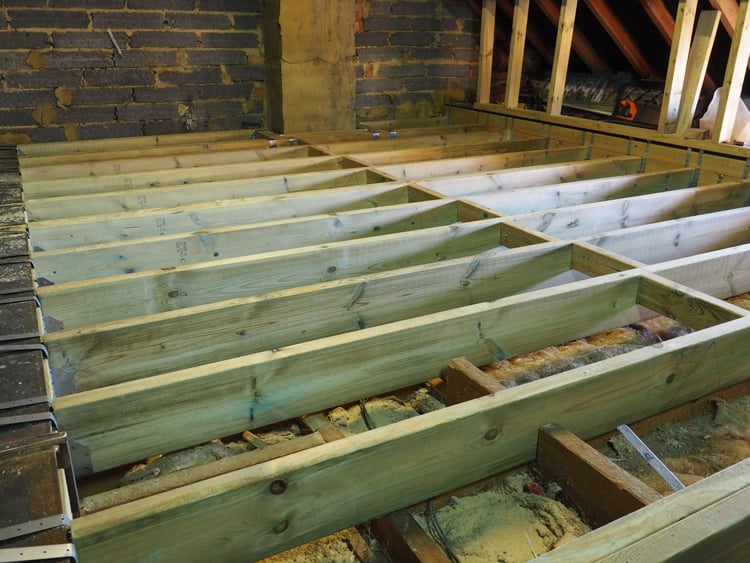
Installing new joists to support the floor.
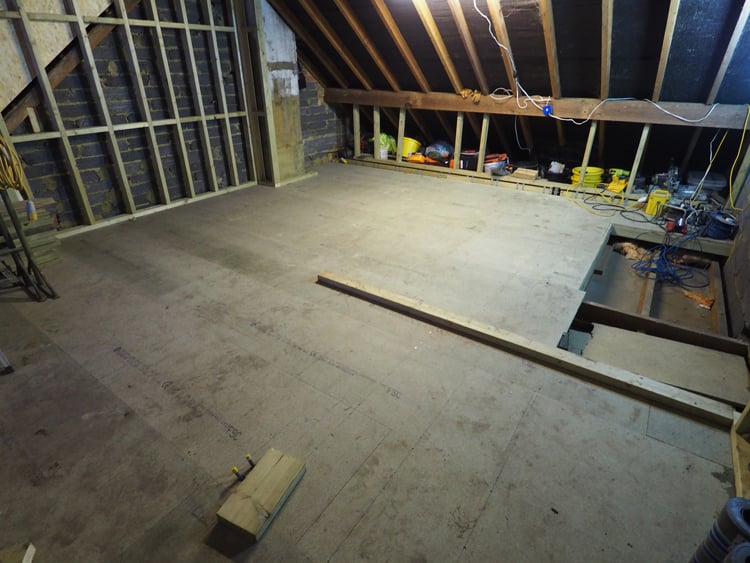
The new floor laid over the joists and steels.
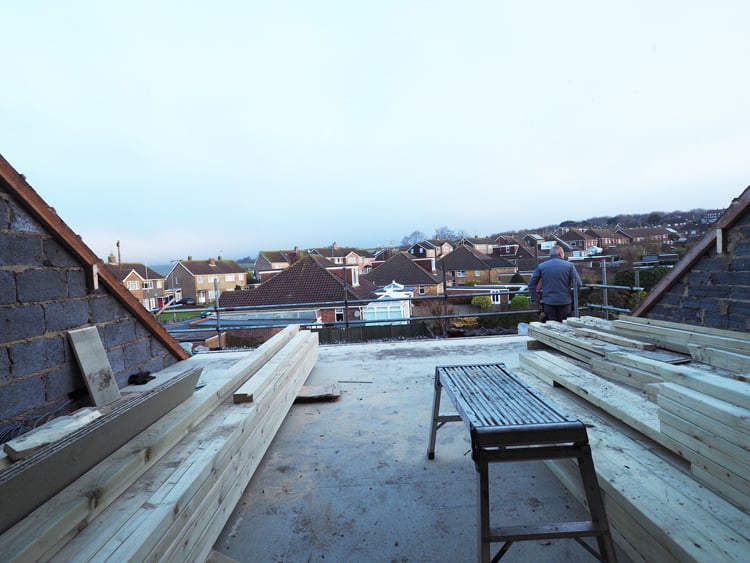
Preparing for the new dormer.
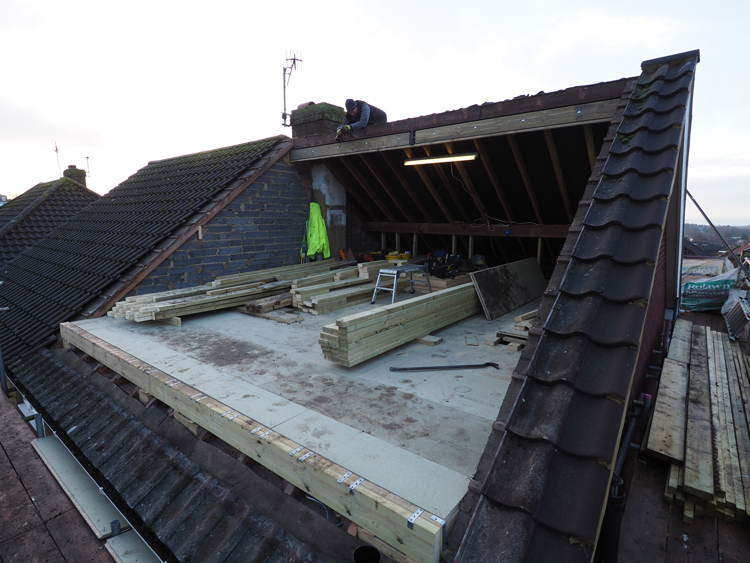
Rear roof removed in preparation for the new dormer.
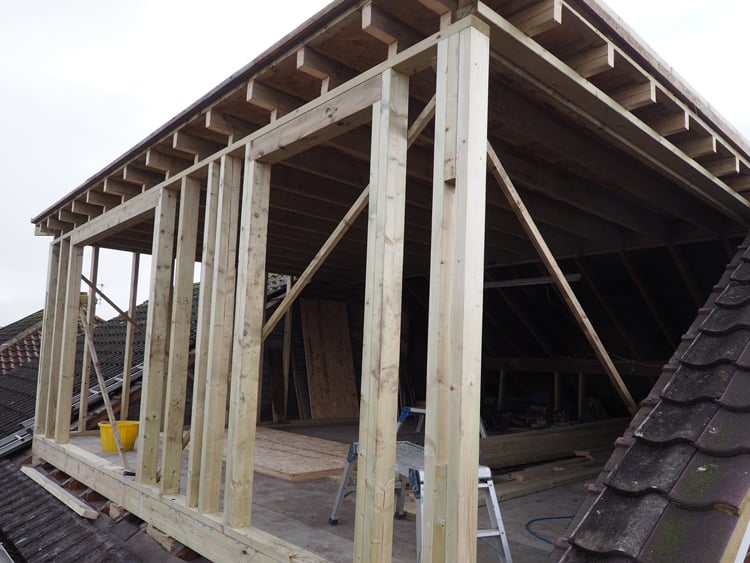
New dormer viewed from the outside.
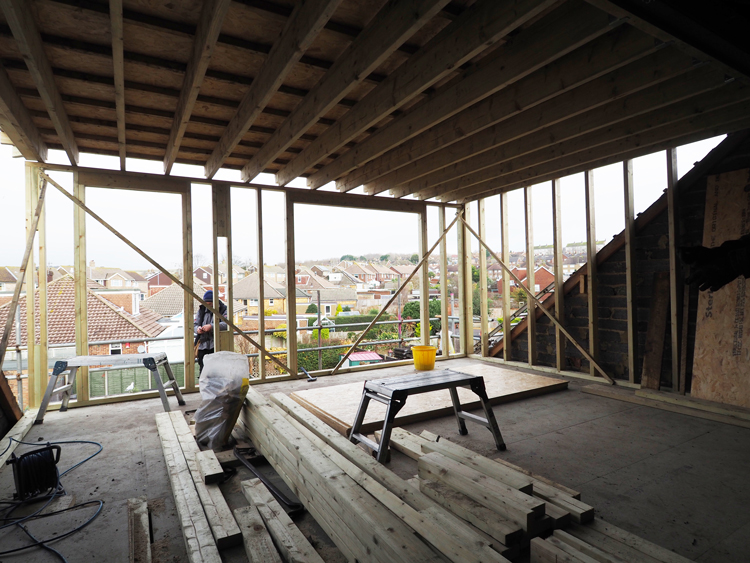
New dormer viewed from the inside.
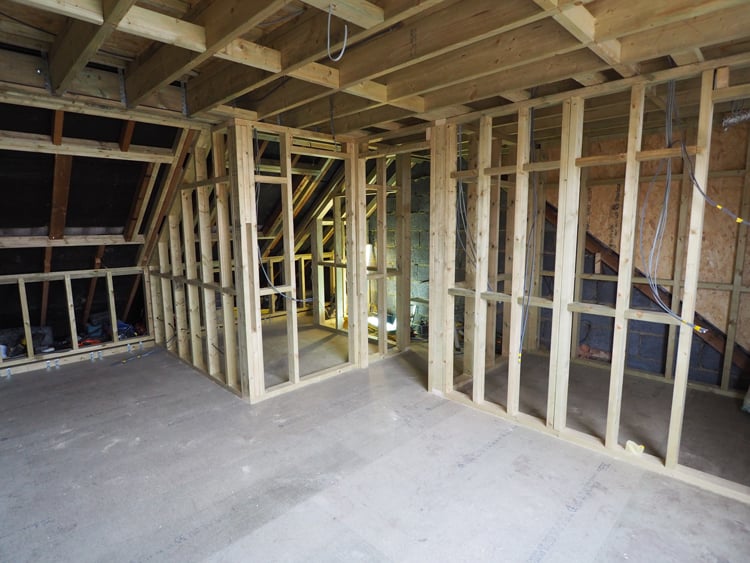
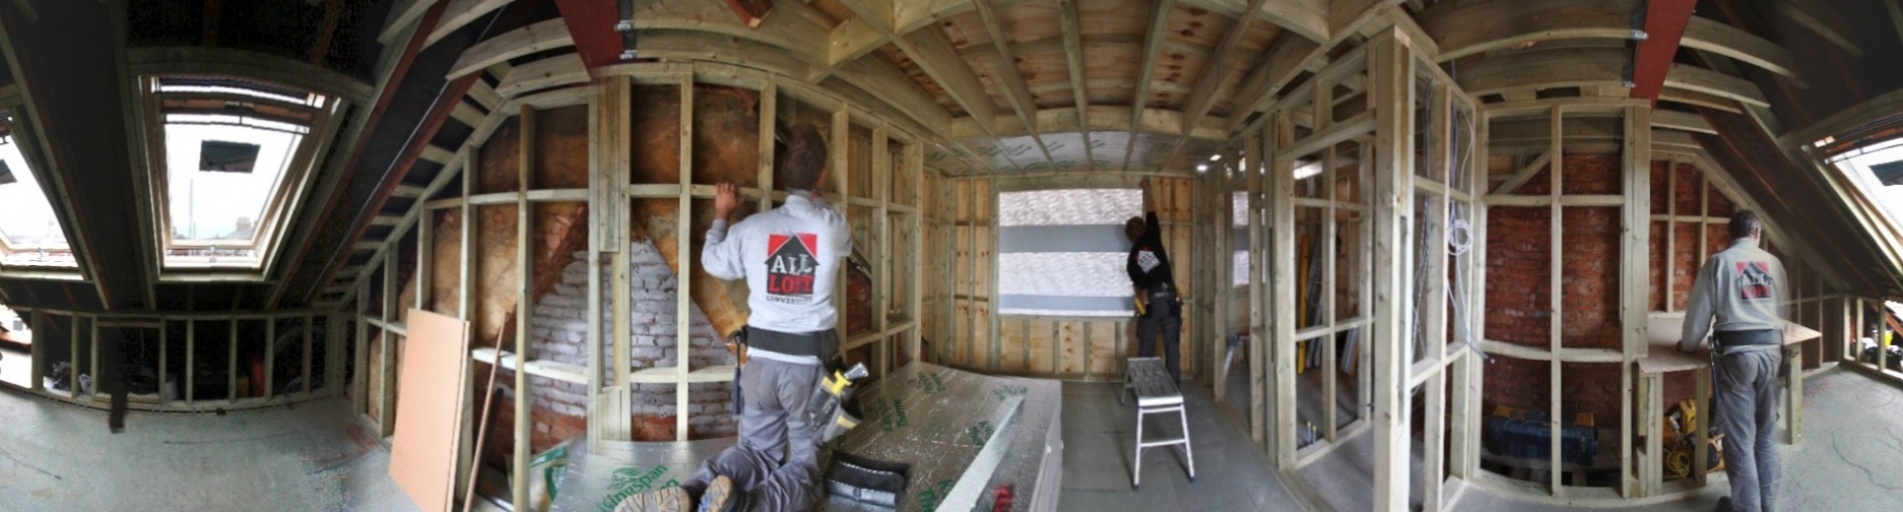
Internal studwork and first fix electrics.
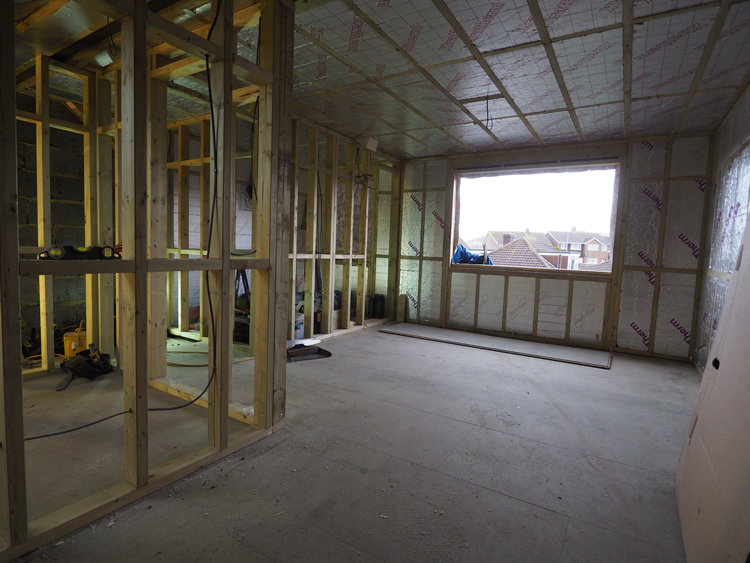
Rigid board insullation installed.
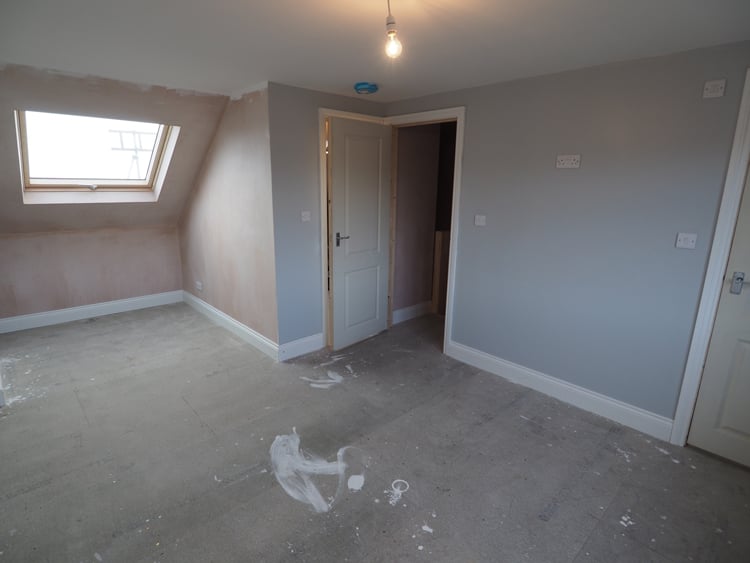
Plasterboarding completed.
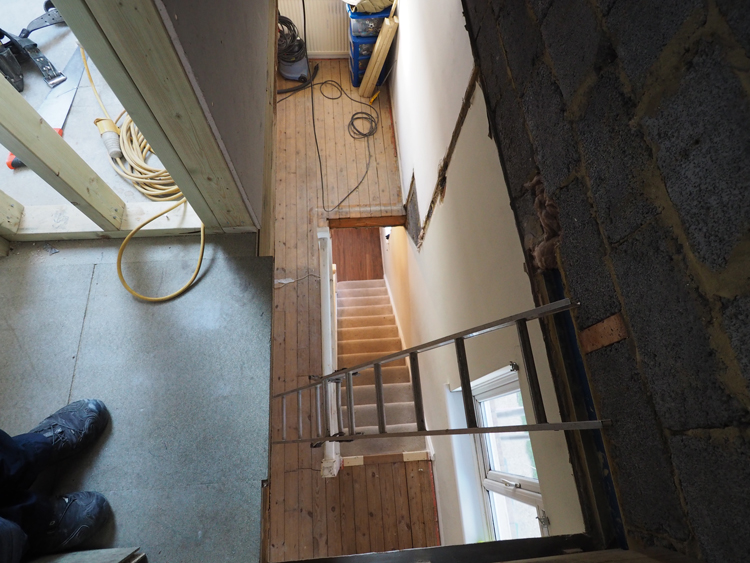
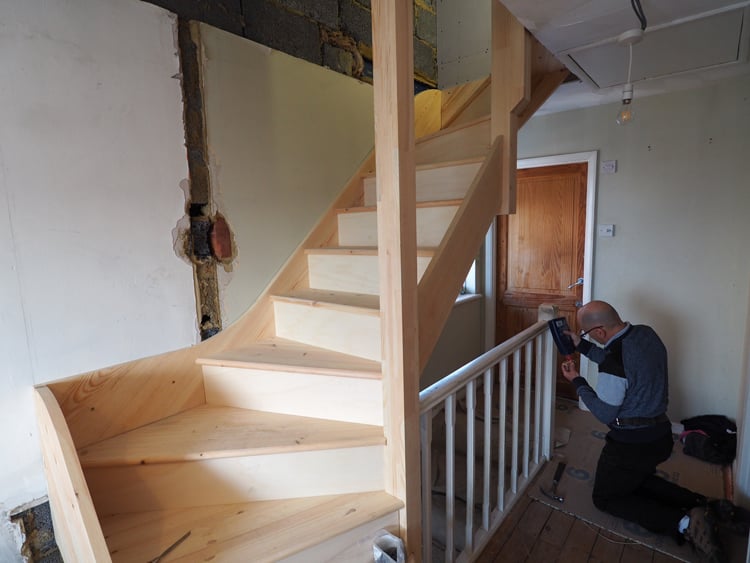
New stairwell under consruction.
New staircase fitted.
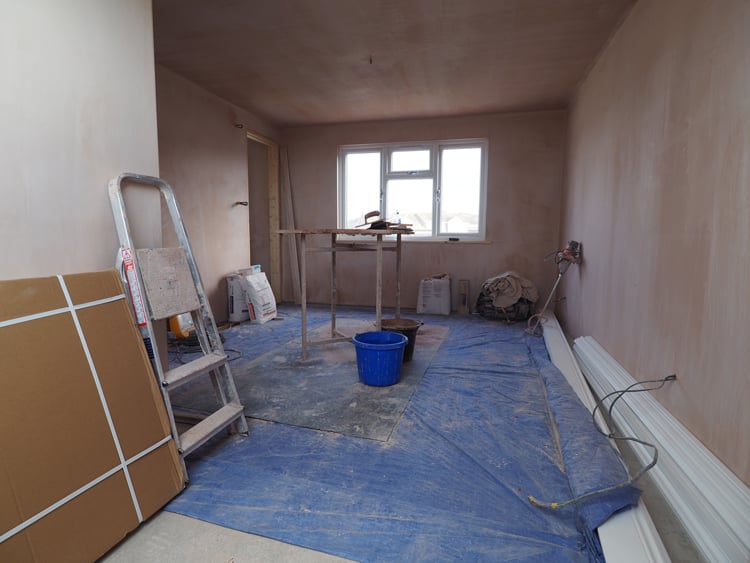
Plastering to the new years completed.
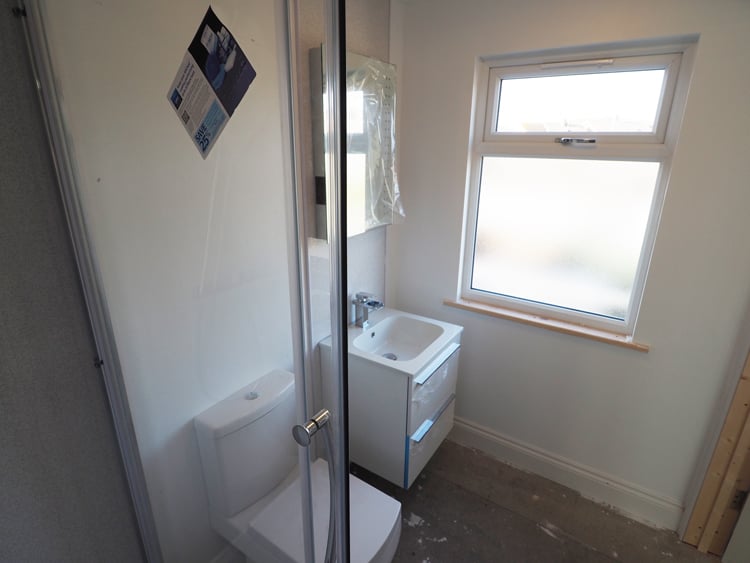
Second fix plumbing.
Carpentry and electrics completed.
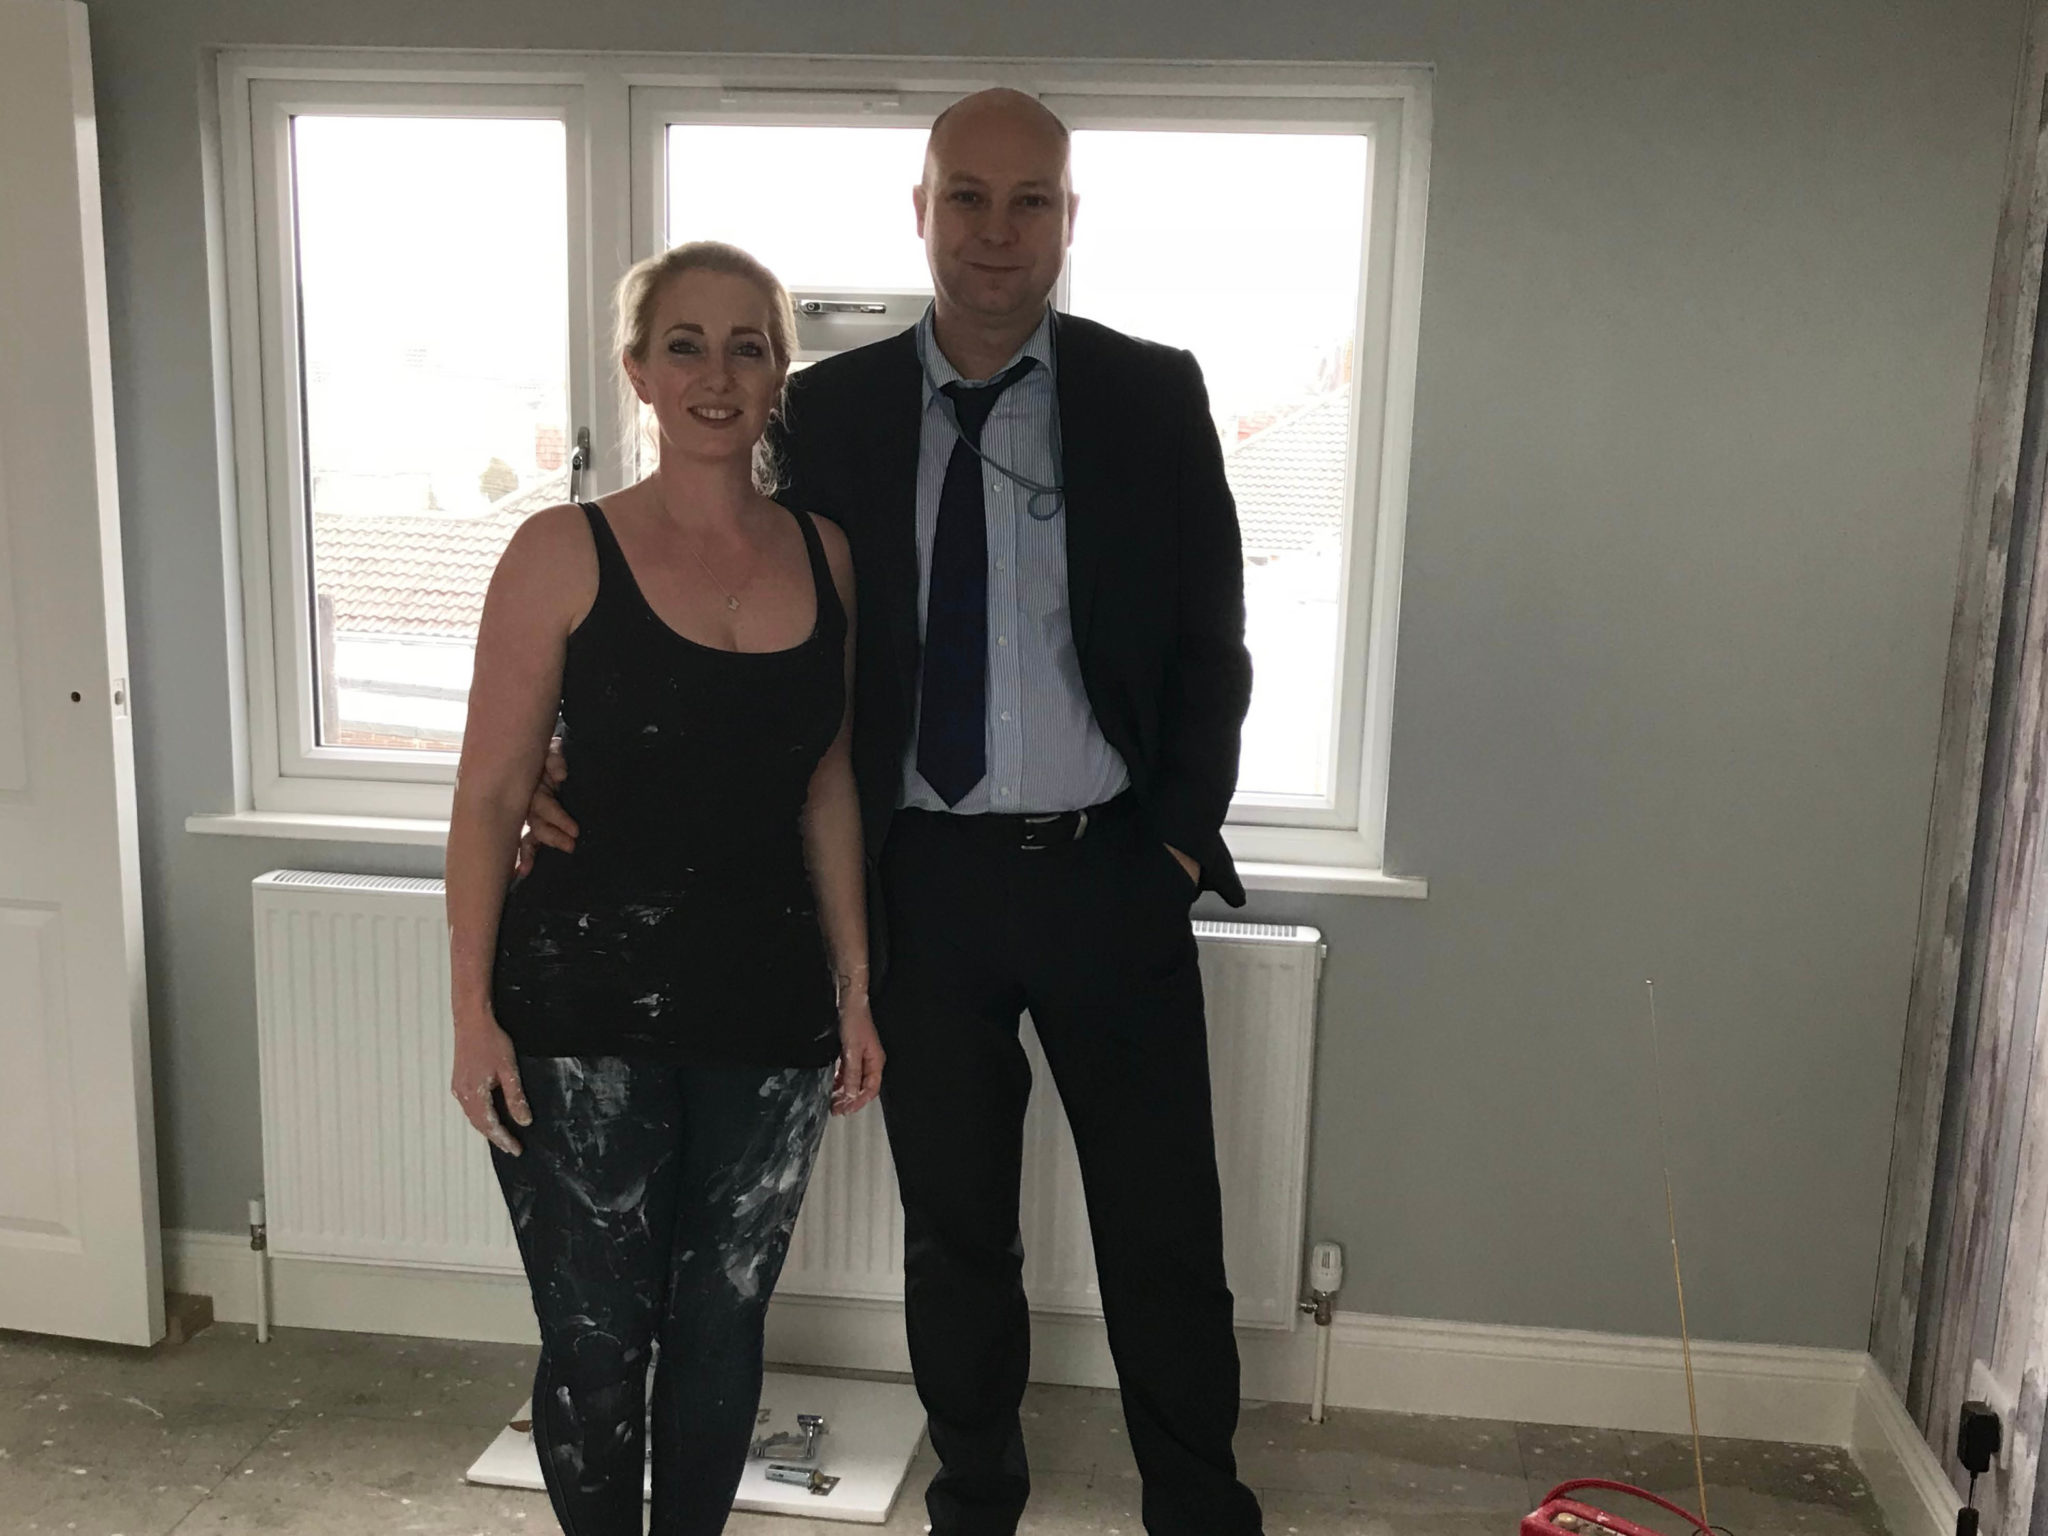
Happy customers!
We use cookies and similar technologies on our website to help us understand how you use it and how we can improve our services. For more information, please read our privacy policy.